Monday, August 27, 2012

Grilled Wild Caught Sockeye Salmon with Chili-Lime Sauce


This one is fairly new to our repetoire, but it is amazing so we have already had it a few times.  We use wild caught sockeye salmon.  Why you ask?  You didn't ask...hmm...well, I'll just tell you.  Wild caught salmon is better for you and it helps the fishermen up in Alaska.  I know a couple of these hardened Alaskan fisher people and they will literally hunt you down and spray you with bear mace if they hear that you even considered buying farm raised.  At least that is what I assume, I don't cross them.  Now, why sockeye salmon?  Because for this particular recipe it just holds together a lot better.  It is more firm than other salmon and thus you can put it directly on the grill without losing half of your fish through the grate.  No fish basket needed.  If you hate salmon or really like bear mace, you can use swordfish instead.  Or you can use any fish and put it in a handy fish basket.

This recipe was adapted from a book called Quick and Easy Thai by Nancie McDermott.  This book is the best set of Thai recipes that I have found anywhere.  You should purchase this book here:  http://www.amazon.com/Quick-Easy-Thai-Everyday-Recipes/dp/0811837319
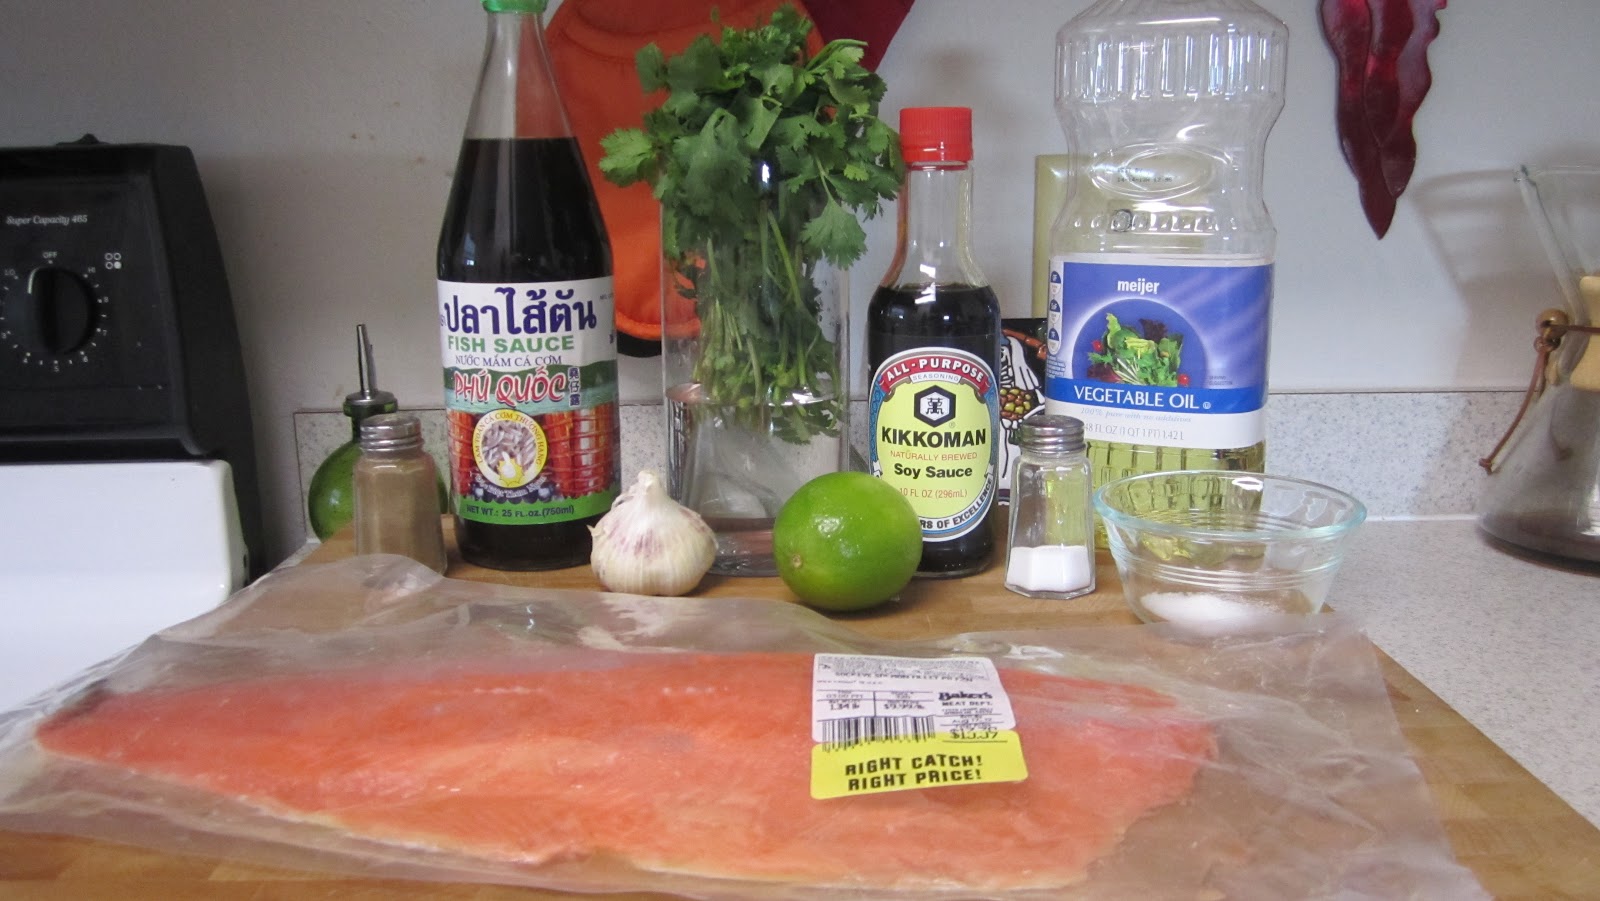
Cast of Characters
Fish - Ingredients
3 tablespoons coarsely chopped garlic
3 tablespoons coarsely chopped fresh cilantro
2 tablespoons fish sauce
1 tablespoon soy sauce
1/2 teaspoon sugar
1/2 teaspoon salt
1/2 pepper
2 tablespoons vegetable oil
1 1/2 pounds of wild caught sockeye salmon (I prefer a single filet)

Sauce - Ingredients
1/4 cup of fish sauce
3 tablespoons fresh lime juice
2 tablespoons of sugar
1 teaspoon finely chopped garlic
1 teaspoon finely chopped serrano chilies
1 teaspoon finely chopped cilantro (optional)

For the fish:

Using you mortar and pestal (or you can throw these ingredients in a food processor), combine garlic, cilantro, fish sauce, soy sauce, sugar salt pepper and oil.  Grind this until it is a smooth paste.  (Author's note:  First time with fish sauce?  It is supposed to smell like that.  It will taste good.  Just gotta trust us on this one.)


 Put your fish filets in a gallon size ziplock bag and dump the paste in with the fish.  Close the bag and massage the paste into the fish, coating completely.  Leave this to marinate for at least 20-30 minutes.  I have kept it as long as 2 hours.  I would not recommend longer than about a day, however.

Look how sexy that salmon is.  


For the sauce:
Combine fish sauce, lime juice, sugar, and garlic in a small bowl.  Stir well until all sugar dissolves.  Sprinkle in the finely chopped chiles (you can take out the seeds before mincing if you want the flavor with less spice) and cilantro.


To cook the fish:
Preheat you grill to med-high (about 425 degrees if you have a thermometer).  Brush the grill with a bit of oil.  I almost burned my face off because I had too much oil on my brush.  Don't do that.  A little will do.  Place fish skin side down onto the grill (or you can use a fish basket if you are worried about it falling apart - but it may not brown quite as nicely).  I put diagonal slashes across the skin side of the fish about every three inches to help the fish cook evenly, but this is not really necessary.


  Cook until deliciously browned, about 5 minutes.


What deliciously browned skin looks like.
CAREFULLY flip the fish over. I use a metal spatula to gently loosen all the edges and ensure the fish is free then I grab one side of the fish with tongs.  Flip it over so the skin side is up.  5 more minutes or until thickest part of the fish is easily flaked with a fork. 
See!  No flaking apart.  Sockeye!


 Remove to plate and let rest for a minute.  You can garnish with lime wedges and cilantro and spoon the sauce onto the fish as you eat.  This a great served with white rice, but even better served with the Quinoa Salad (the good stuff in the picture, which we will have a recipe up for soon)!


Drink Pick: June Bug Riesling - Not overly sweet and a good balance for the heat of fish.


Wednesday, August 8, 2012

The AWARD WINNING Chili-less Chili Burger


Back in the day when we were younger and going to school in Reno we would have cook-offs with our friends. That is how this delicious burger was created and how it became “AWARD WINNING.” So award winning really means I beat a few friends in the back yard...but it is a pretty good burger anyway. After facing the most worthy of adversaries, the Chili-less Chili Burger continues to satisfy appetites from the West Coast all the way to the Midwest 7 years later.

The Cast of Characters:
-1 tsp Tapatio
-1/2 tsp ground coriander seed
-1/4 tsp onion powder
-1/2 tsp garlic powder
-2 tsp cumin seed
-1Tbsp+1 tsp of ground cumin
-1Tbsp chili powder
-1/4 tsp cayenne pepper
-Coarse black pepper
-Sea salt
-1Tbsp Worcestershire sauce
-Homeade salsa and guacamole (see previous recipes August 2012)
-Mayonnaise to taste
-Sliced onion
-Lettuce (baby greens work well)
-American cheese (optional)
-1lb of beef  85/15
-1 package of hamburger buns

Since everyone else was late they didn't
get to be in the picture!


1. Combine Tapatio, ground coriander seed, onion powder, garlic powder, cumin seed, ground cumin, chili powder, Worcestershire and cayenne pepper with ground beef. Combine with hands until evenly distributed.
Work it...


2. Form the patties; the thickness will determine the amount of people you can feed, along with cook time and everything else that is important within this recipe. We usually form patties that are about 1/2 in thick and very wide because they do shrink-up during grilling. 


3. To toast or not to toast your bun, that is the questions…it’s really up to you. The AWARD WINNING recipe toasts their buns FYI. If you would like to toast your bun on the grill brush lightly with olive oil beforehand for that extra bit of crunch. 

4. Pre-heat the grill to 375 degrees, while the grill is pre-heating, cover the patties with sea salt and coarse ground pepper and pat into the meat, seriously cover it; this locks in the juice.

5.  Throw em’ on the grill. Once the patties are close to being done, about 3 minutes each side for medium (depending on whether you like it rare, medium or well) that is the time to add the cheese.


6. Now it’s time to build a burger…an AWARD WINNING burger mind you. Therefore how we do it includes putting mayonnaise on the bottom bun, burger, guacamole, onion, lettuce and the homemade salsa. Enjoy…if you want to stray, that is your decision but remember one thing, it will not be an AWARD WINNING BurgerJ 

Music pick,  Lykke Li. Drink pick, St. Lupulin EPA, Odell Brewing Co. 


Summer sides: Salsa and Guacamole


There comes a time in a man’s life when they have to admit that a meal is not complete without UN-grilled items no matter how painful that might be. So here goes, sides that stand on their own even if they are next to delicious burgers or steaks.

Salsa (serves 4):
-1 clove of garlic
-1 container of cherry tomatoes/ about 10 oz. It is important to use cherry tomatoes, the flavor and consistency of your salsa depends on the tomatoes. Cherry tomatoes seem to work best, we usually use Nature Sweet Cherubs; that is unless we can get fresh ones from the farmer’s market.
-1/4 of a Serrano Pepper, the amount you use will determine the amount of heat in your salsa. Unless you want to burn your mouth off REMOVE THE SEEDS!
-1/2 cup of chopped onion (red or white)
-1/4 cup of chopped cilantro
-1Tbsp of extra virgin olive oil
-1/2 tsp of sea salt

1. Put all ingredients in a bowl or food processor.


2. Either use a hand blender and blend to desired consistency in the bowl and do the same if you are using a food processor.


3. The best way to tell if the salsa came out the way you wanted it to is to try it with a chip; if the words, “now that’s the stuff,” follow, it’s good.


P.S. the longer the salsa sits, for example, for a couple hours in the refrigerator or overnight, the better.


Guacamole (serves 4...or 1):

-1large avocado or 2 small
-1 clove of garlic, finely minced
-1/4 cup of chopped onion (whatever type you prefer)
-1/4 cup of loosely packed cilantro (this is optional for cilantro haters)
-1/4 cup of tomatoes, roughly chopped
- Salt and pepper to taste
- Serrano pepper to taste (this is optional)

1. Put avocado, garlic, onion, Serrano pepper and cilantro in a bowl and mash together. We use a fork.


2. Add salt and pepper to taste.


3. Once everything is mashed and seasoned add the tomatoes (these go in last because mashed tomatoes in guacamole look weird).


4. To properly test with chip see step 3 above under Salsa.

5. If your guacamole was not completely devoured and you are unable to let go, you may have to store it.  So that the guacamole does not get that brown color, squeeze some vitamin C over the top of the guacamole and put it into an airtight container, lime or lemon work well. If you do not have those items you can cover it with plastic wrap pressing it firmly to the top of the guacamole. These methods usually help keep the guacamole mean and green overnight.

Music pick to help smash things up, Ozomatli


Sunday, August 5, 2012

And Commence GRILL WEEK!

Course 1: Bruschetta


To celebrate our move to Omaha we were limited as to foods we could both make and enjoy because of the freak heat wave hitting the Midwest at this time. We're caught in a double-bind, cooking inside is hot, cooking outside is hot, waiting until the sun goes down so that we can grill....priceless, oh and yeah, cooler...slightly. As a result of this concept, GRILL WEEK was born...and grill we did!

When we dedicate our night to cooking we like to eat over a long period of time, because usually it is our event for the evening. So we choose some great music, pop open a bottle of wine or beer and get to it. We like to separate our meal into different courses so that we can enjoy making and eating each one. Therefore the first series of posts feature one individual course at a time.

To start we made a grilled bruschetta. How more people do not make bruschetta this way is...( we have no words for what it is).

Grilled Bruschetta (serves 2 or however many people you want to serve)
-Choose your bread (any crusty bread will work) it will need to be sliced.
-Cherry tomatoes. You need enough to cover the surface of your bread.
-Fresh Mozzarella sliced. Again, you need enough slices to cover the surface of the bread. 
-Extra virgin olive oil, for drizzling. 
-Basil, chopped
-1 clove of garlic
-Sea salt
-Bamboo Skewers


1. Soak bamboo skewers in water for 15 minutes while you're prepping the other ingredients. We use the bamboo skewers to grill the tomatoes, soaking them in water keeps them from catching fire.
2. Slice your bread, into as many slices as you want to eat. Make sure they are about 3/4 of an inch thick.

3. We like to use a muddler to combine our olive oil, basil and garlic.


With a muddler you will place 1 clove of garlic, 2 tbsp of olive oil and 4 fresh basil leaves.


Then muddle away until the olive oil is bright green and the basil leaves are fairly well distributed.

4. Brush the olive oil mixture onto both sides of your sliced bread, coating completely. Now is a good time to pre-heat your grill on medium, about 350 degrees.

5. Skewer the cherry tomatoes, do not leave space between the tomatoes otherwise the skewer may burn. Learned that one the hard way...

6. Slice the mozzarella so that there are enough slices to cover the surface of your bread. Thin slices melt better!

7. Once the grill is pre-heated, lightly toast one side. This is the point where you put the skewers of tomatoes on as well.

8. Once the toasting of one side is complete flip that baby over and add the mozzarella slices. Close the grill, checking occasionally to make sure nothing has caught on fire and better yet to monitor the melting of the mozzarella. Make sure you're turning those tomatoes.

9. When the mozzarella is melted (after about 5 minutes) remove the tomatoes and the bread from the grill.

10. Remove the tomatoes from the skewers and slice to desired size, putting them on top of the mozzarella.

11. Roll ten basil leaves, slice into thin ribbons and sprinkle on top of the tomatoes.

12. Drizzle with extra virgin olive oil and sprinkle with sea salt to taste and then TASTE!


This course was made possible with the help of the Alabama Shakes (music pick) and Geyser Peak, 2011 Sauvignon Blanc (paired beverage or in this case IMpaired beverage).